DIY Guide To Installing a Mini-Split System
Published April 12, 2024 by Tony Spezza
Your HVAC system is on the fritz — it’s loud, it only works some of the time, and it doesn’t service your entire house. With so many systems to choose from, upgrading your HVAC is a big decision, but you think installing a mini-split system will solve your problems.
With abundant advantages to ductless heating and cooling systems, mini-splits are great options for those looking for an HVAC upgrade.
Learn about mini-split systems, how to install one yourself, when to call in the professionals, and more.
Table of Contents
- What Is a Mini-Split?
- Choosing the Right Mini-Split System
- How To Install a Mini-Split Step-By-Step
- Frequently Asked Questions About Installing a Mini-Splint
- How Much Does It Cost To Install a Mini-Split?
- Can You Install a Mini-Split Yourself?
- Install a Mini-Split System the Smart Way With AAA Heating and Cooling
What Is a Mini-Split?
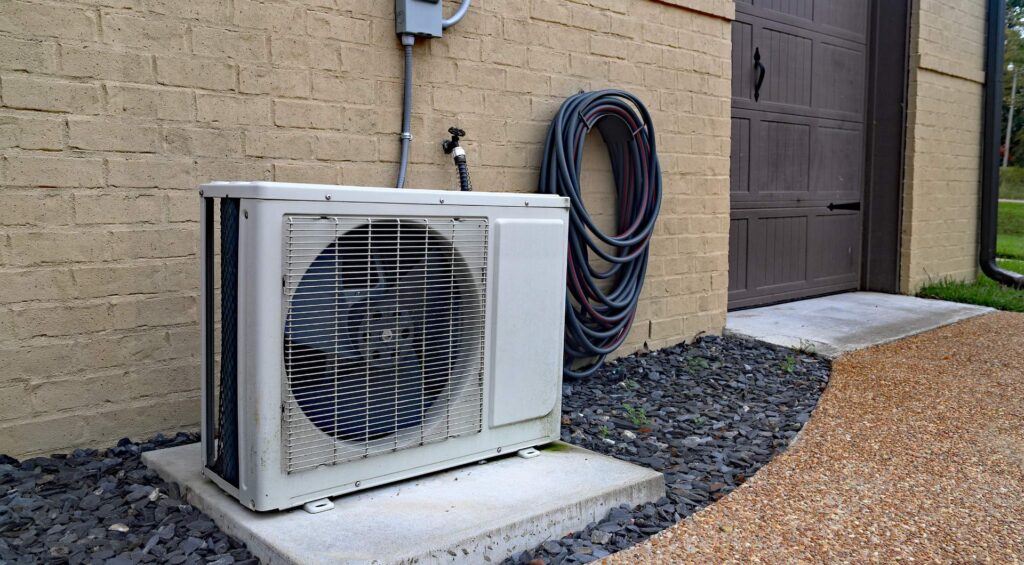
A mini-split — also known as a ductless system — is a heating and cooling system that works to regulate temperatures in your home for individual rooms. They are made of two main components, an outdoor condenser and indoor air handlers.
You might consider installing a mini-split if:
- You have an older home that does not have ductwork or a central HVAC system
- You want to upgrade or replace your HVAC system
- You live in a region with a wide range of extreme temperatures
- You want an HVAC system that is easy to maintain
- You want to reduce noise pollution
- You want to heat or cool individual rooms in your home
- You want to avoid energy losses
- You want to heat or cool an area of your home that’s not connected to your HVAC system
Choosing the Right Mini-Split System
Before you begin installing a mini-split system, you want to ensure you’re choosing the right one for your home. There are three main types of mini-split systems:
- Single-zone: Best for individual rooms or to supplement existing HVAC systems
- Multi-zone: Best for small to medium-sized homes to help control the temperature in two or more zones
- Whole-house or multi-zone system: Best for larger homes so you can control eight or more zones individually
First, decide how much work you want your mini-split system to do. If it’s only going to be used to heat and cool one room, a single-zone is a great option. If you’re hoping to heat and cool a large home and have the system reach ten rooms, a whole-house system is the answer.
Next, just like many other types of HVAC equipment, you must ensure the size of the mini-split system (based on BTUs) is correct for the spaces you want to heat and cool to prevent discomfort and energy losses. Using a specialist to correctly calculate the appropriate size of your system will help be sure you’re investing in the right one.
If you’re unsure how to install a mini-split system or need correct calculations for size, the specialists at AAA Heating & Cooling can help. Contact us today.
How To Install a Mini-Split Step-By-Step
Can I install a mini-split system myself? Probably, but using the expertise and knowledge of professionals is always recommended.
However, if you’re comfortable installing a mini-split on your own, use this step-by-step guide to learn what to do.
Step #1: Gather the Tools and Materials
Before stepping into any DIY project, you want to ensure you have all the correct tools and materials on hand. To install a mini-split system, you’ll need:
- Adjustable wrench
- Drill/driver
- Hole saw
- Level
- Condenser wall brackets
- Plastic condenser pad
- Plastic line set cover
- Ductless mini-split system
Step #2: Install the Mounting Bracket
First, you’ll need a way to mount your mini-split system to the wall. The evaporator should be mounted inside the room on an exterior wall away from direct sunlight, doorways, and sources of dust.
First, ensure the wall is free of wires, pipes, and ducts that could interfere with the holes for the line set. Then, mark the stud locations and fasten the bracket to them with screws.
Step #3: Create the Line Set Hole
You want your line set hole to slope slightly downward so condensate from the evaporator can drain to the outside.
First, drill a pilot home from inside to outside, then go outside to be sure no trim or other obstructions will complicate drilling the full-size hole. Then, use a hole saw to cut from the inside, moving away any insulation, and inspect the cavity for obstructions. Go outside and finish drilling the rest of the hole.
Step #4: Run the Line Set
Grab an assistant to help with this step.
Next, uncoil the line set from the back of the evaporator. With your helper outside, feed the line set through the hole. As it emerges, they should grab it and gently bend it downward and to the side as much as necessary to reach the condenser.
Be sure to keep the rigid plastic collar surrounding the line set at the end that connects to the condenser.
Note that the drain line is shorter and should go through last, below the other lines.
Lastly, add the drain extensions and wrap the joint with electrical tape to keep it secure.
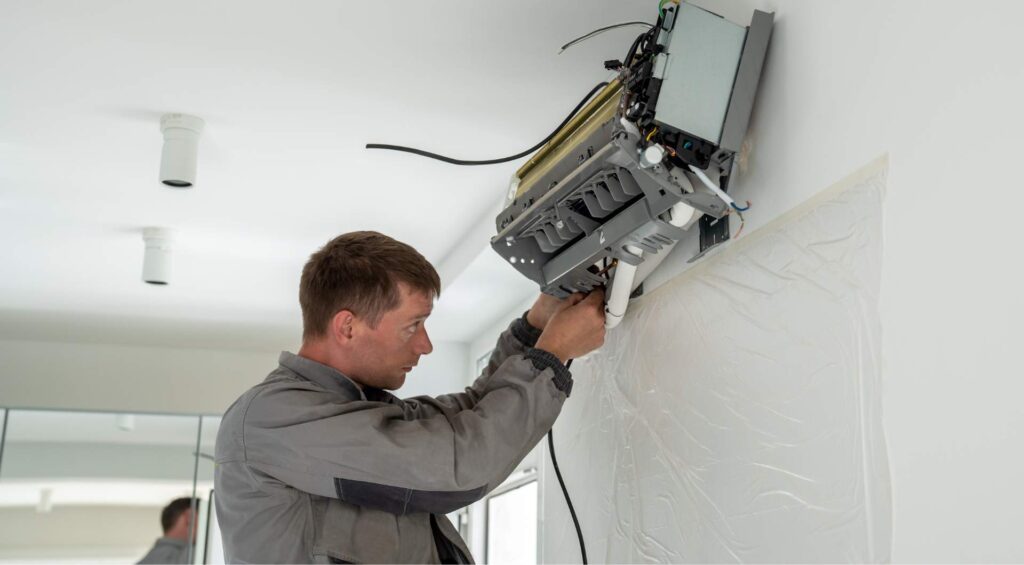
Step #5: Install the Evaporator
Now it’s time to install the evaporator.
First, wrap the foam sleeve around the section of the line set within the hole and replace any insulation that was disturbed. Then, hang the evaporator on the mounting bracket. You might need your helper to feed a few more inches of the line set outside as you do this.
Lastly, from the outside, insert the two-piece plastic trim into the hole to prevent any rough edges from damaging the line set.
Step #6: Install the Condenser
The condenser should be installed on a pad on the ground or mounted on a wall bracket so the refrigerant lines can easily reach it. A location on the east or north side of a building maximizes cooling efficiency.
First, route the line set so it stays tight to the exterior of the building and doesn’t leapfrog any obstructions. Be sure there is one to three feet of clearance from walls and bushes while also avoiding areas where ice or packed snow could fall on it or block the vents.
Step #7: Connect the Refrigerant Lines
You’ll want to double-check this step as it varies by manufacturer.
First, connect the lines as recommended for your exact system and inspect the lines for kinks and to verify the connections. Then, go inside and set the temperature using the controller.
Step #8: Cover the Line Set
Next, insulate and seal the hole on the outside wall, then cover the line set using sections of plastic or metal channel cut to length. You can place the back half of the channel behind the line set, plumb it, and anchor it to the wall with screws.
Be sure your drain line exits straight down
Step #9: Provide Power to the System
For a DIY mini-split installation, providing power is usually the biggest challenge. For smaller systems, you might be able to draw power from an underloaded 20-amp circuit, but you’ll probably want to install a new circuit dedicated to your mini-split system.
Power should flow from a disconnect box to the condenser, running cables throughout the home and walls where necessary.
Frequently Asked Questions About Installing a Mini-Splint
How Much Does It Cost To Install a Mini-Split?
The cost of a mini-split system will vary depending on the type of system you need (based on size and the number of HVAC zones you want to reach), efficiency, and manufacturer.
A Forbes article shared that the average cost of a standard mini-split system in 2024 is $4,500, however, the range is broad — between $1,200 and $16,400 depending on size, efficiency ratings, and brands.
If you want to avoid the hassle of a DIY installation, AAA Heating & Cooling can help. We’ll offer our expertise and guidance on choosing the right mini-split system for your home and needs, and we can give you an estimate on cost before we begin. Contact us today.
Can You Install a Mini-Split Yourself?
Of course, with the right tools and materials and a good attitude, you can likely install a mini-split system yourself. But, to forego the headaches and self-doubt, call the professionals.
An experienced team can ensure the job is done right. You won’t be left wondering how to install a mini-split, if you have the right tools and materials, or where line sets are supposed to go.
Install a Mini-Split System the Smart Way With AAA Heating and Cooling
No matter what your heating and cooling needs are — maintenance, repairs, installations, and more — utilizing professional services can help ensure the job is done right.
AAA Heating & Cooling is the leader in commercial and residential heating and air conditioning services in the greater Portland area. Our services range from maintenance services, installations, duct cleaning, repairs, and beyond.
Wondering how to install a mini-split system? Don’t! We’ll take the worry off your back and perform the installation for you.
AAA Heating & Cooling provides quality services you can trust. Contact the experts today.


