Dust. Grime. Debris.
These silent invaders lurk within the coils of your air conditioning system, choking its efficiency and compromising your comfort.
Whether your AC unit struggles to beat the summer heat or you simply want to ensure it doesn’t become clogged and overburdened, keeping your unit clean and tidy can make a world of difference.
The problem is, if you’re like most homeowners, you have no clue how to clean coils on an AC unit.
Have no fear! The professional team at AAA Heating and Cooling has your back — and your AC unit.
Here you’ll find step-by-step instructions for how to clean AC coils and who to call if you’ve got better things to do with your Saturday afternoon.
Table of Contents
- Why Is It Important To Clean AC Coils?
- How Often Should AC Coils Be Cleaned?
- Can I Clean My Air Conditioner Coils Myself?
- How To Clean AC Coils in 10 Easy Steps
- How Much Does It Cost To Get AC Coils Cleaned?
- When Should You Call a Professional To Help You Clean Your AC Coils?
- AAA Heating and Cooling: Helping Portland Maintain Their AC Units for Over 60 Years
Why Is It Important To Clean AC Coils?
Even if you’re the king or queen of lawn care, your air conditioner’s condenser coils can easily become filled with all kinds of debris throughout the year. Giving them a regular cleaning ensures that your AC is performing at an optimal level, so your home stays nice and cool all summer long.
Regularly cleaning your air conditioner coils:
- Saves you money
- Extends the life of your AC unit; and
- Provides maximum comfort levels to your home
Types of Coils in AC Units
There are two types of coils in your air conditioning unit that work together to complete the heat exchange cycle:
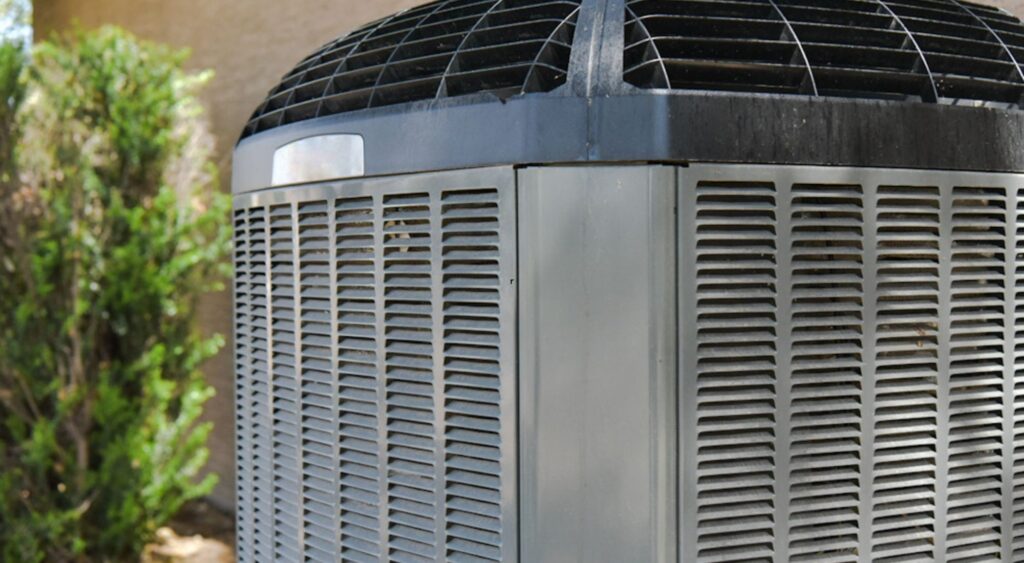
- Condenser coil – The condenser coil can be found on your outside AC unit. This coil is where the refrigerant releases the heat it absorbed inside your home. It does this by rejecting the energy taken up by the unit’s evaporator coil and sending it into an outdoor air source. This process of heat exchange creates cool air, which then circulates back through the AC system into your home.
- Evaporator coil – The evaporator coil absorbs the moisture and heat from the air inside your house. It partners with the condenser coil to complete the heat exchange cycle and create cool air.
How Often Should AC Coils Be Cleaned?
According to The U.S. Department of Energy (DOE), to properly maintain your air conditioner coils, they should be checked once each year for dirt and debris and cleaned as needed.
AAA Heating and Cooling is Portland’s premier team of HVAC professionals. Family-owned for over 60 years, we’re dedicated to helping you with your HVAC needs by providing quality services, repairs, installations, and outstanding customer service. Contact us today to schedule your air conditioner cleaning.
Can I Clean My Air Conditioner Coils Myself?
You can, but if you do, you’ll want to be well-prepared and extremely careful.
Cleaning your AC coils on your own may come with risks, such as:
- Electrical hazards
- Damaging the unit
- Voiding your warranty as some units require professional repair or maintenance
- Ineffective cleaning if you don’t know what you’re doing or have the right tools
How To Clean AC Coils in 10 Easy Steps
Step #1: Turn Off the Electricity to Your AC Unit
The first thing to do is disconnect the electric breaker that controls the AC unit. You’ll find it located on the outside of your house in a small metal box, connected with an electrical cord to the air conditioner’s condenser unit.
If your unit has a cartridge-style breaker with fuses, you may be able to pull it straight out to disconnect the system. Other breakers, however, may have a large lever that pulls down to disable the system or a double circuit breaker in the electric service panel that controls the AC condenser unit.
According to the Consumer Products Safety Commission (CPSC), 15% of product-related electrocutions occur when someone attempts to repair a large appliance on their own.
Their data reports an estimated over 33,000 emergency room visits yearly in conjunction with:
- Air conditioners
- Fans
- Dehumidifiers; and
- Other types of air conditioning equipment
While the majority of those visits were for cuts, scrapes, or sprains, air conditioner mishaps resulted in approximately 16 electrocution deaths yearly.
On top of those numbers, around 11,000 air conditioner-related fires resulted in $200 million in damage each year. As you can see, keeping your equipment in top working condition and leaving repairs and maintenance to qualified professionals is critical.
Step #2: Remove the Top and Side Panels
Remove the top and side condenser panels of your AC unit to gain access to the coils. This can be done by:
- Using a cordless screwdriver or drill to remove the screws holding the top protective cover in place
- Setting the screws in a safe location
- Using the same process to remove the side panels
Step #3: Unscrew the Condenser Fan From the Unit (Optional)
Depending on the model of your air conditioner, you may need to remove the condenser fan to gain access to the coil. Don’t undertake this step unless you’re confident you can remove the fan and motor safely.
On some units, you can unsnap the condenser fan’s assembly’s wiring harness from the unit’s wiring. This allows you to completely remove the condenser fan assembly.
If you’re unable to detach the wiring, place a ladder or step stool next to the air conditioner unit for the condenser fan to rest on.
To protect your safety and avoid the consequences of damaging your air conditioner, trust your HVAC cleaning to professionals like the team at AAA Heating and Cooling.
Step #4: Inspect Your AC Unit
Inspecting your air-conditioning unit allows you to look for any other issues that might be going on with your system. As you inspect, keep an eye out for problems, such as:
- Loose wires
- Bent fan blades
- Cracked pipes
- Advanced corrosion
Step #5: Remove Large Debris
Using gloves, remove any large debris that is stuck in the unit. Watch for things like:
- Leaves
- Sticks
- Pieces of plastic
- Rocks
- Pebbles
- Etc.
Step #6: Use a Shop Vacuum To Remove Small Debris
Using a vacuum attachment, gently suck away the smaller debris and dirt from each section of the unit.
Take extra care to be sure not to bend the aluminum fins on the exchange heater. If they do become crushed, straighten them out before moving on to the next section.
Step #7: Clean the Protective Grills
Remove any large debris that may have become trapped between the aluminum fins and the protective cover of the outside of the air conditioning unit.
Leaves easily become trapped in the protective grills and should be removed by hand.
Step #8: Clean the Coils With the Cleaner of Your Choice
Air conditioner coils can be cleaned by using a low-pressure sprayer filled with cleaning solution. Choose one of the following to clean your coils:
- Commercial cleaner – Follow the manufacturer’s directions.
- Soap and water solution – Mix one teaspoon of liquid dish soap with one cup of water.
Spray the chosen solution onto the evaporator coils and let it sit for several minutes. Using a soft bristle brush, gently scrub away the dirt and debris.
Step #9: Spray the Inside and Outside of the Unit With Water
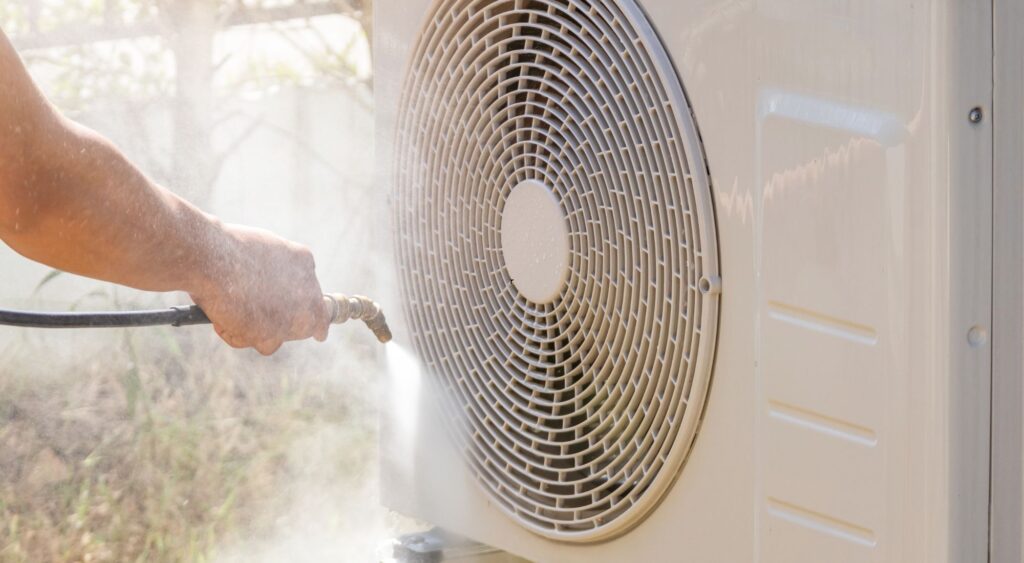
Spray the outer components of your unit with a hose from the inside out, top to bottom. Set the width of the spray to ‘wide’ to avoid damaging the delicate aluminum fins.
Lastly, spray the outside of the air conditioner from the top down and avoid spraying the inner part of the unit.
Allow the unit to dry.
Step #10: Reassemble the AC Unit
With the power off, replace the fan and covers.
Turn the power on and switch on your AC system. Be sure to monitor your unit for a few minutes after starting to ensure the cleaning process didn’t cause any damage.
How Much Does It Cost To Get AC Coils Cleaned?
According to Forbes, hiring a professional to clean air conditioner coils can cost anywhere between $75-$400.
Since they’re generally difficult to access, cleaning evaporator coils may cost between $100-$700. If the HVAC professional has to remove the coils to clean them, you may be paying $400-$700. Since condenser coils are easier to access, they typically cost $75-$200 to clean.
Overall, the average cost per cleaning method may be:
- Cleaning in place: $75-$400
- Coil removal: $400-$700
- AC acid wash: $300-$400
When Should You Call a Professional To Help You Clean Your AC Coils?
For most of us, having our AC coils cleaned by a professional is simply part of our yearly HVAC checklist.
If you’d rather spend your time elsewhere, aren’t comfortable cleaning the coils on your own, or your unit is exceptionally grimy or in need of repairs, you’ll want to call a professional.
Your AC unit should be checked out and cleaned at least once a year — preferably before the high-use summer months — to ensure it is running at peak performance. Plus, a scheduled yearly check-up allows you to avoid having to wait for an HVAC specialist to repair your unit if it breaks down during the height of the summer.
AAA Heating and Cooling: Helping Portland Maintain Their AC Units for Over 60 Years
Whether you’re looking to have your air conditioner coils cleaned or are in need of maintenance, repairs, or a whole new AC unit, the family-owned team at AAA Heating and Cooling can help ensure the job is done right.
As Portland’s leader in commercial and residential heating and air conditioning services, AAA Heating and Cooling offers services ranging from maintenance, repairs, installations, duct cleaning, and more.
Why go through the hassle of figuring out how to clean the coils on an AC unit? Let the team at AAA Heating and Cooling take care of the job for you!
AAA Heating and Cooling is Portland’s choice for heating and air conditioning needs. Contact us today to find out why!


